Some of the links in this post are affiliate links, meaning, at no additional cost to you, I will earn a commission if you choose to make a purchase.
Here is a working demo written for an Arduino UNO if you are willing to give it a try.
Tested with PathPilot version 2.14
The limitations are:
- it is hard coded to address 0 so you can only use one board
- it only allows for one input and one output
- auto reset must be disabled on the Arduino UNO
- requires an edit to the 99-ttyUSB.rules or addition of a new rules file
Instructions:
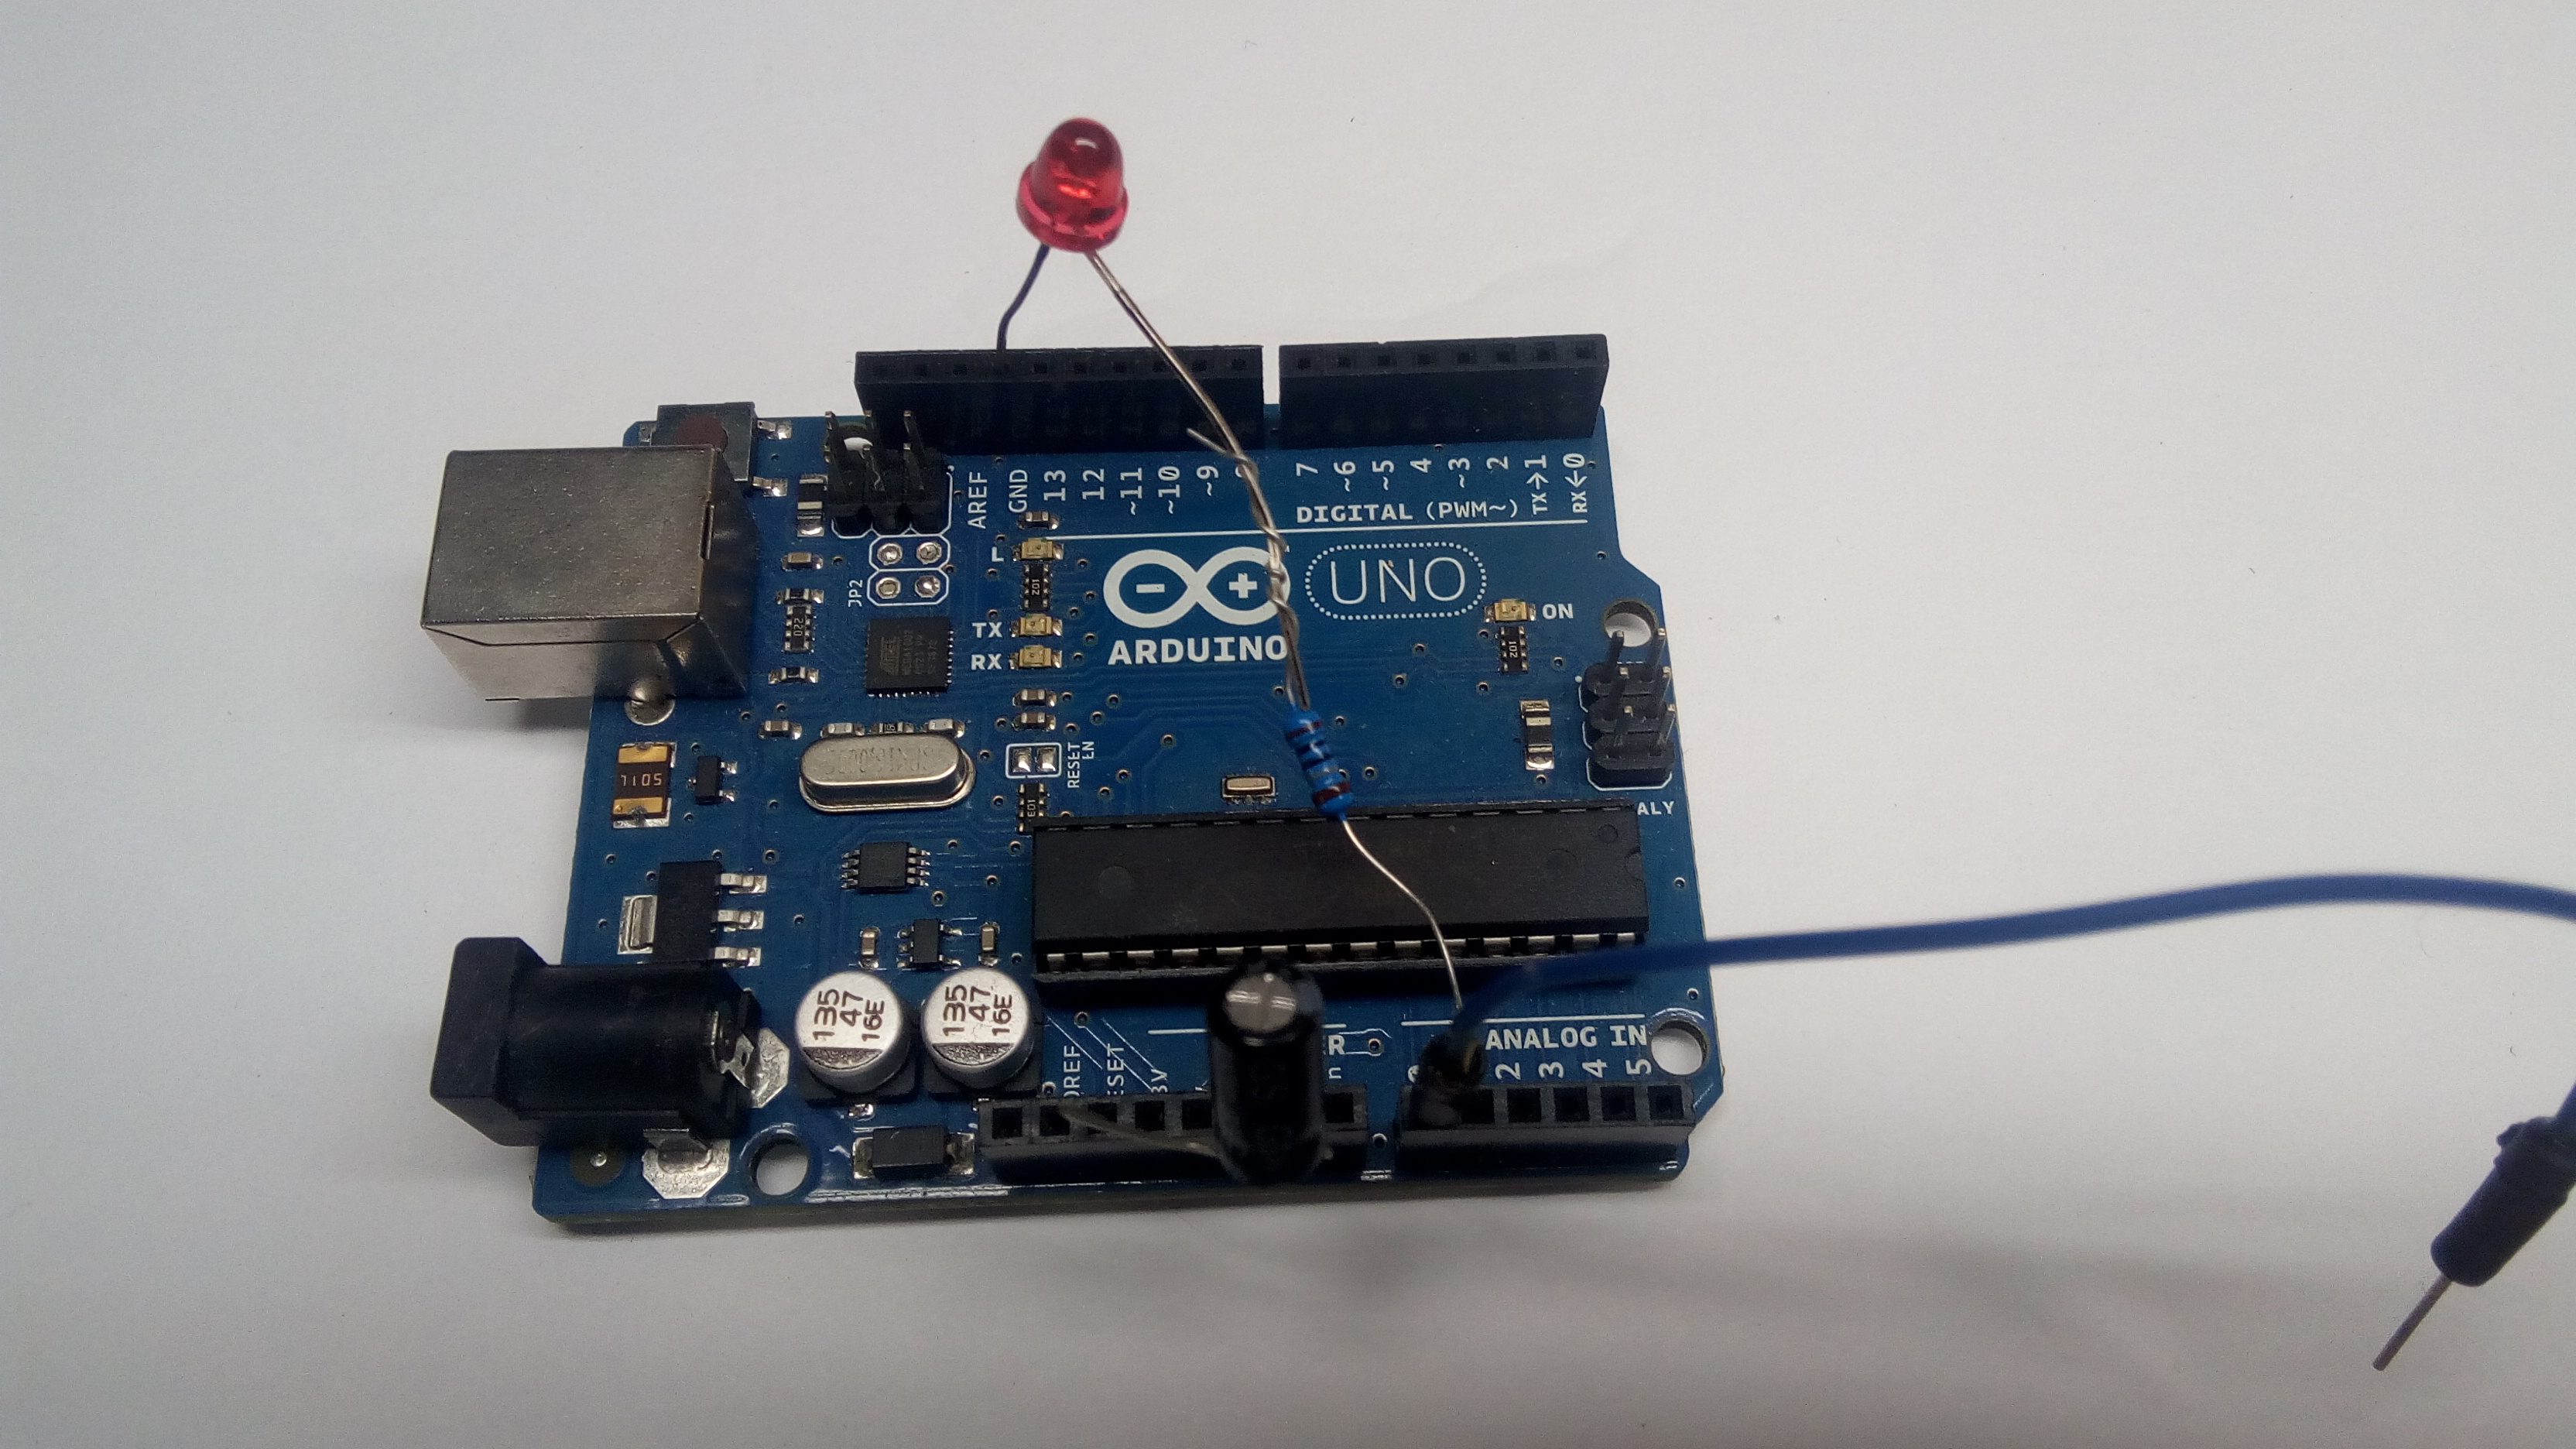
Input is on A0 and is active low. connect A0 to ground to activate.
Output is on A1 and is active high. A1 is 5 volts when active.
An alternative active low file is also provided below.
Add the following to etc/udev/rules.d/99-ttyUSB.rules
SUBSYSTEM==”tty”,ATTRS{idVendor}==”2341″,ATTRS{idProduct}==”0043″,PROGRAM=”/bin/sh -c ‘echo $((%n+10))'”,SYMLINK+=”USBIO%c”,GROUP=”dialout”,MODE=”0666″
Restart PC for change to take effect.
The Files:
Hex file:
Version with active low output:
https://gofile.io/d/v7Qp8H
Upload hex file to arduino:
http://www.hobbytronics.co.uk/arduino-xloader
You will need to download xloader.
Rules file if you wish to add it instead of adding a line to 99-ttyUSB.rules.
A separate file will still work after a pathpilot update.
https://gofile.io/d/v7Qp8H
Disable auto reset
There are two ways to accomplish this:
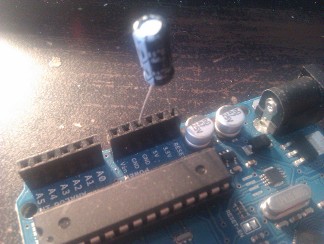
Insert a 22uf capacitor between RESET and GND on the UNO. This way is allows you to remove the capacitor if you wish to upload another file without having to press the rest button manually during upload.
Or:
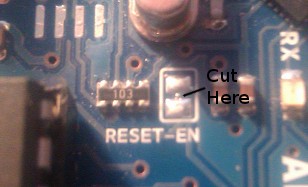
Cut the RESET EN trace on the UNO board. This way requires you to manually press the reset button during file upload. You can alternatively short the RESET EN pads to allow temporary auto reset. You can also restore auto reset by soldering a bridge between the pads.
Hardware links
Arduino UNO compatible: https://amzn.to/2YQ912e
Official Arduino UNO: https://amzn.to/2WZA7T3
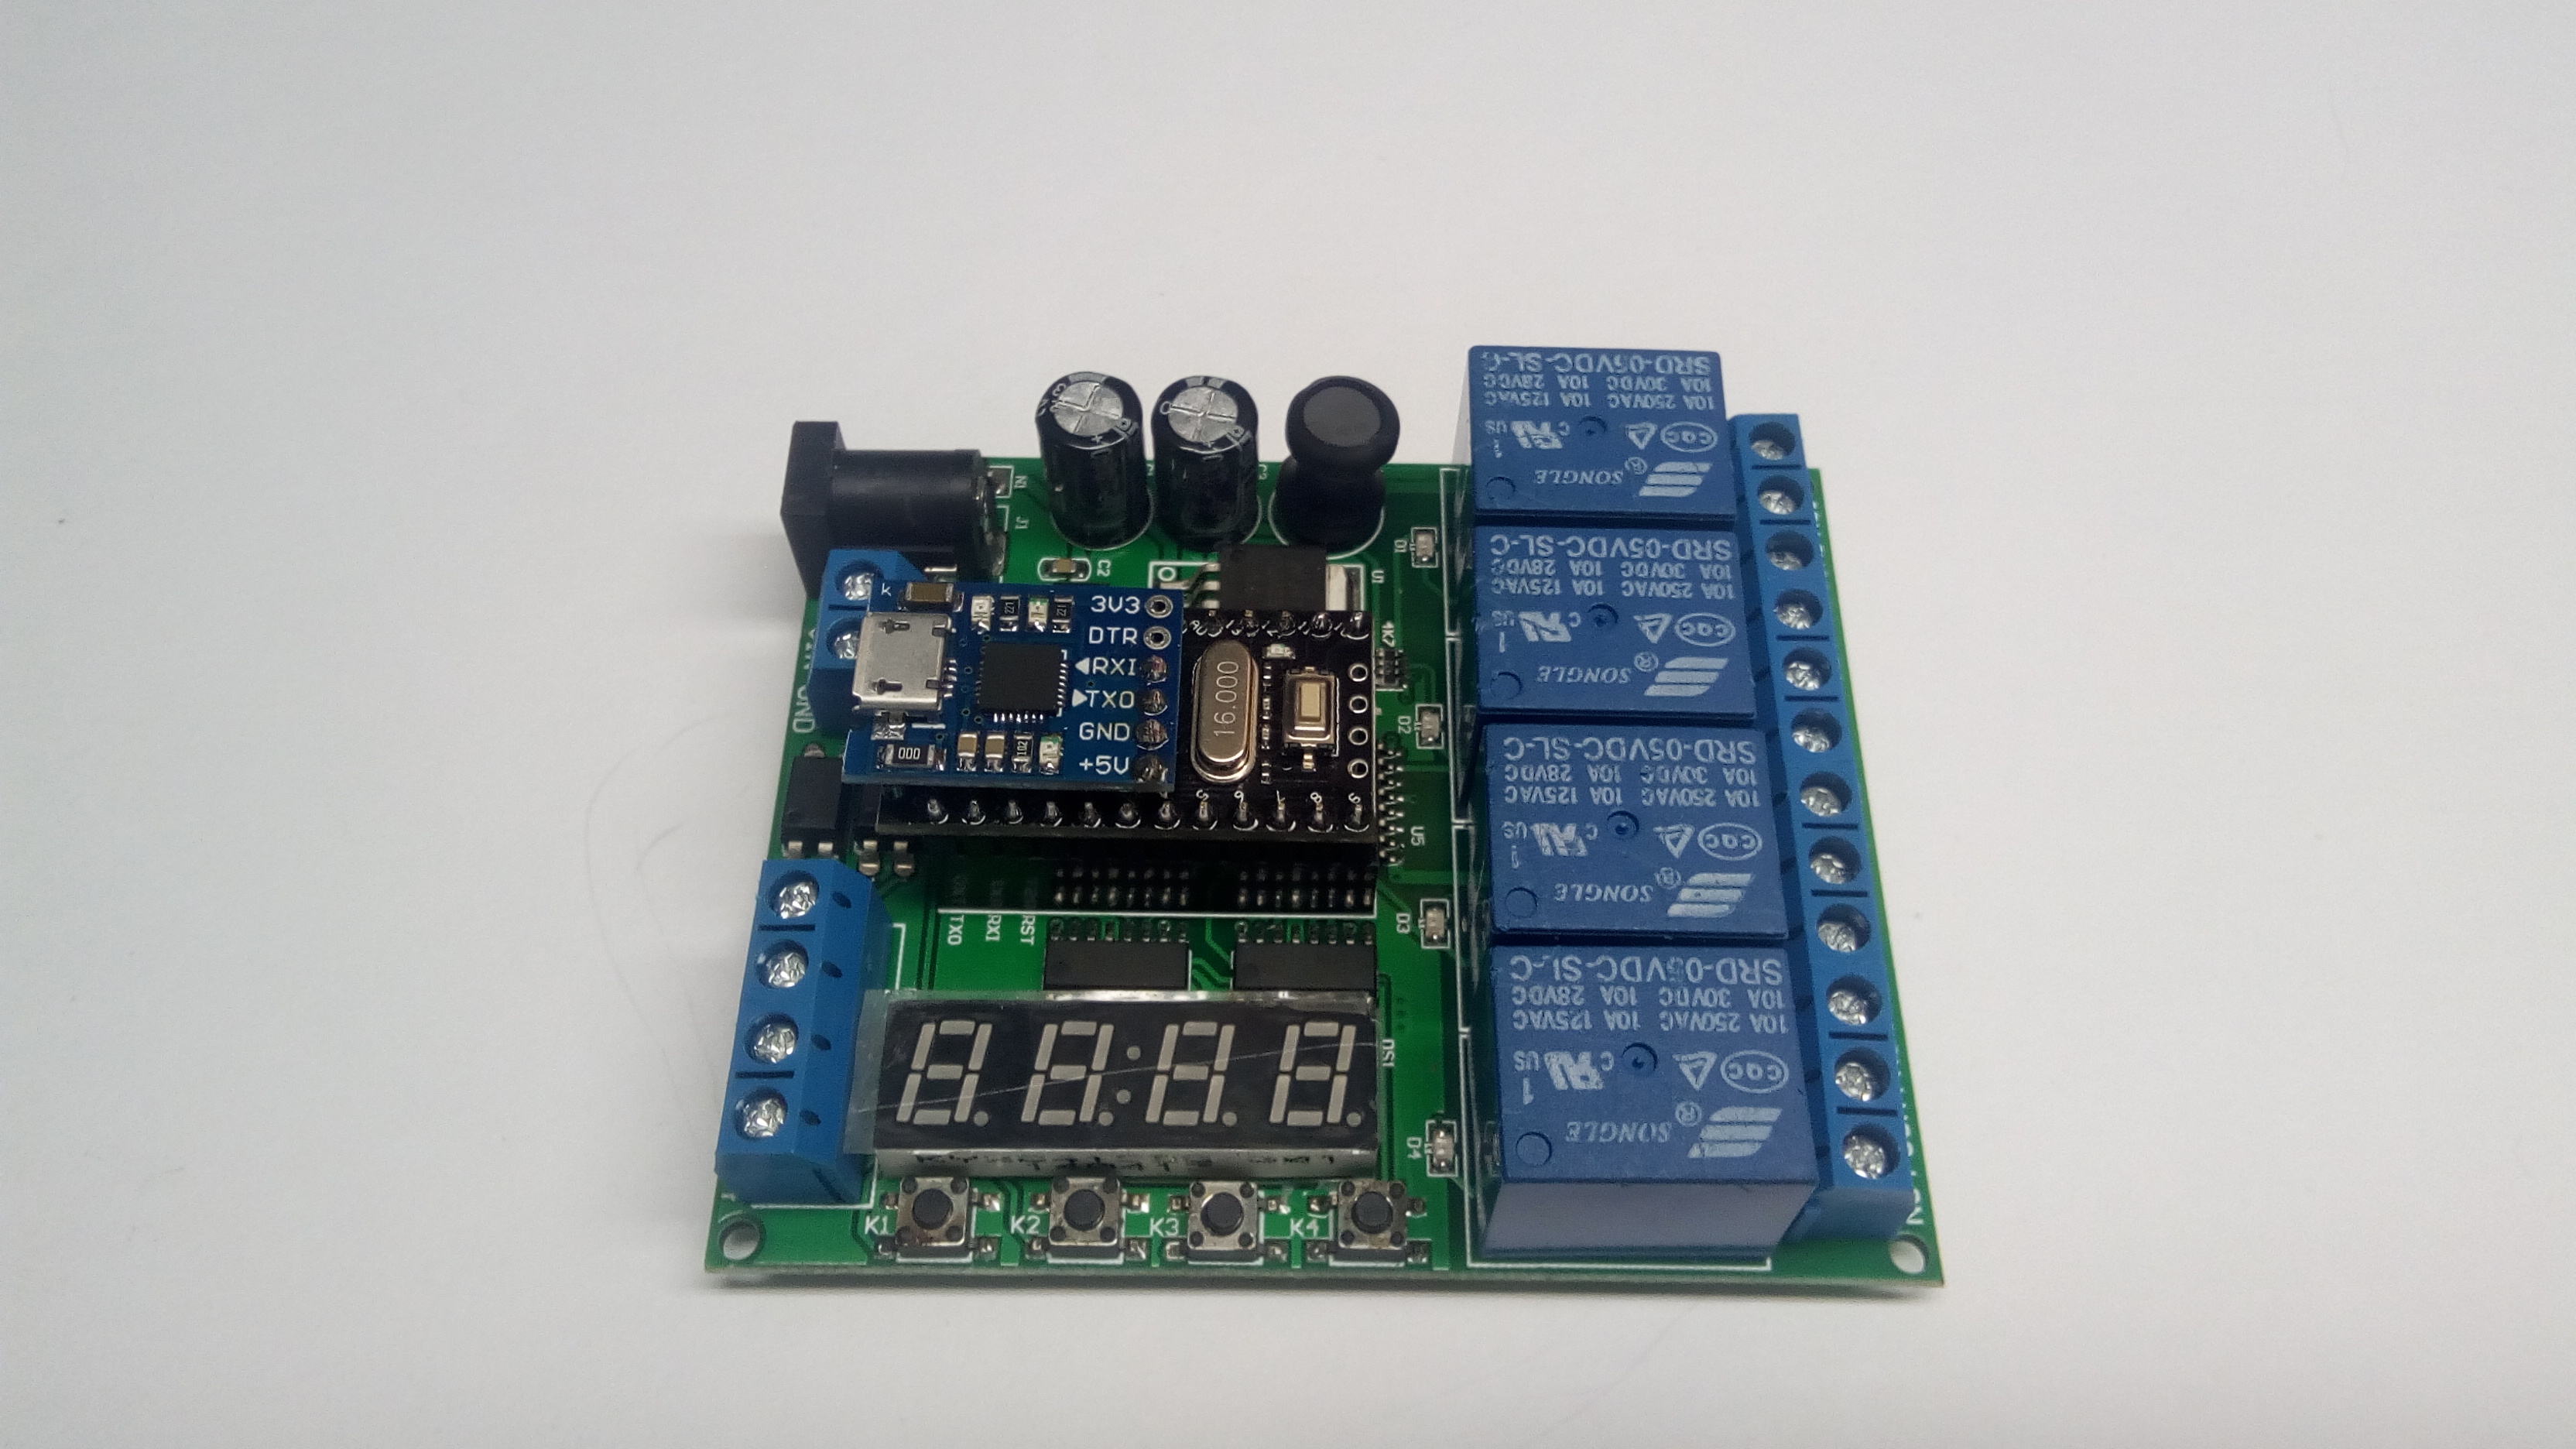
4 Channel relay: https://amzn.to/2D2LORc selectable for active high or low
4 Channel relay: https://amzn.to/2InsTUG active low relay activation
Jumper wires: https://amzn.to/2D5NWYk